Like a master artist prepping their canvas, you're ready to transform your chrome bumper into a fresh visual delight. You're not alone in this venture. Many car enthusiasts have found themselves in your shoes, eager to lend their vehicle a personal touch or protect it from the harsh elements.
Painting a chrome bumper is not a task to be taken lightly; it requires careful preparation, the right tools, and a steady hand. But, where do you begin? And how do you ensure a smooth finish that not only looks great but also stands the test of time and the elements?
Let's embark on this journey together and explore the art of painting a chrome bumper.
Key Takeaways:
- Removing and preparing the bumper is an essential step before painting a chrome bumper.
- Wiping down and covering the bumper ensures a clean surface for painting and protects areas that should not be painted.
- Priming the bumper with self-etching primer creates a bond between the primer and the bumper surface.
- Sanding the primer, applying multiple coats of paint, and adding clear coats provide a smooth finish and protect the bumper from damage.
Reasons to Paint Your Chrome Bumper
Why would you consider painting your chrome bumper? There are several reasons to paint your chrome bumper that you may not have thought of.
Firstly, a fresh coat of paint can help prevent rust. It's no secret that chrome bumpers can be prone to rust over time. Painting your bumper can put an extra layer between the metal and the elements, helping to keep rust at bay.
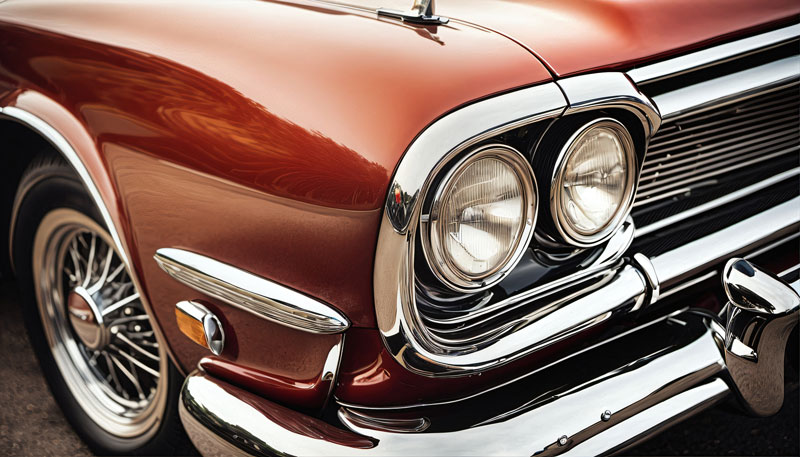
Secondly, it can significantly enhance the overall appearance of your vehicle. An entire chrome bumper that's been freshly painted can give your car a sleek, modern look. It's a relatively simple way to upgrade your vehicle's aesthetic without breaking the bank.
Another reason is to achieve uniformity with the rest of the vehicle's body. If you've recently had your car painted, it can be jarring to see a shiny chrome bumper against the new color. Painting the bumper to match can create a smoother, more cohesive look.
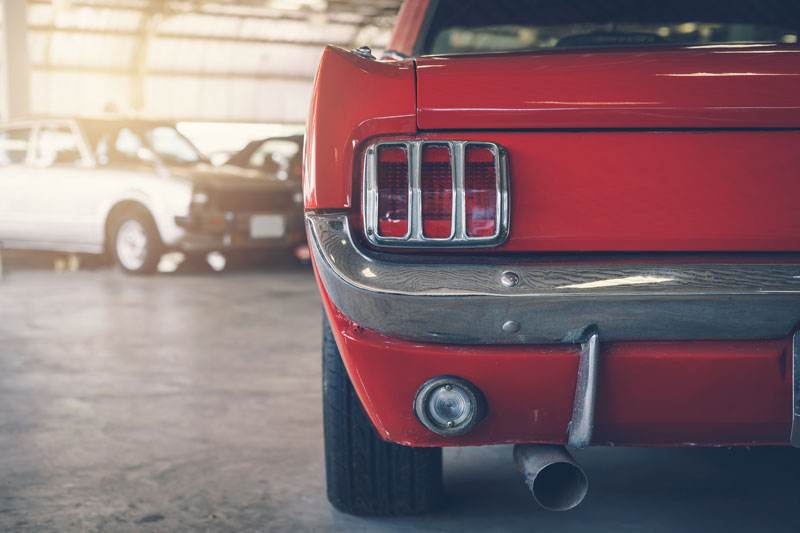
Lastly, it provides an additional layer of protection against damages. Road debris, minor collisions, and even the occasional shopping cart can all cause scratches and dings. A layer of paint can provide a buffer, helping to keep your bumper looking its best.
How to Paint Chrome Bumpers?
Ready to give your chrome bumper a fresh look? Let's break it down into three simple steps: preparing the surface for primer, priming the chrome bumper, and applying the paint with some finishing touches.
Follow these steps closely and you'll have a beautifully painted chrome bumper in no time.
Preparing the Surface for Primer
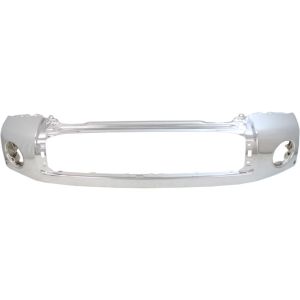
Before you can start priming, you'll need to meticulously prepare the chrome bumper's surface to ensure a flawless paint job. Begin by removing any debris or grime from the chrome surface using soap and water.
Then, apply a wax and grease remover to the bumper. This product eliminates any residual substances that could interfere with the adhesion of primer. After the surface is squeaky clean, it's time to roughen it up slightly.
Sanding the chrome creates a more adhesive surface for the primer to stick to. Start with a coarse-grit sandpaper and finish with a fine-grit one for the smoothest results.
Now, you're done preparing the surface for primer. You're on your way to a professionally painted chrome bumper.
Priming the Chrome Bumper
Having prepared the surface meticulously, you're all set to prime your chrome bumper. This critical step in the process is all about priming the chrome bumper properly. It's essential to use a self-etching primer as it adheres well to the chrome, creating the perfect base for paint to stick to.
Shake your can of primer well and apply it evenly across the bumper, holding the can about 6-8 inches away. The self etching primer will work its magic, creating a bond between the chrome and the paint. Let it dry completely.
Once the primer has dried, you're ready to apply paint. Remember, you're aiming for smooth, even strokes. Take your time and make sure coverage is consistent. Your bumper is now well on its way to looking brand new!
Applying the Paint and Finishing Touches
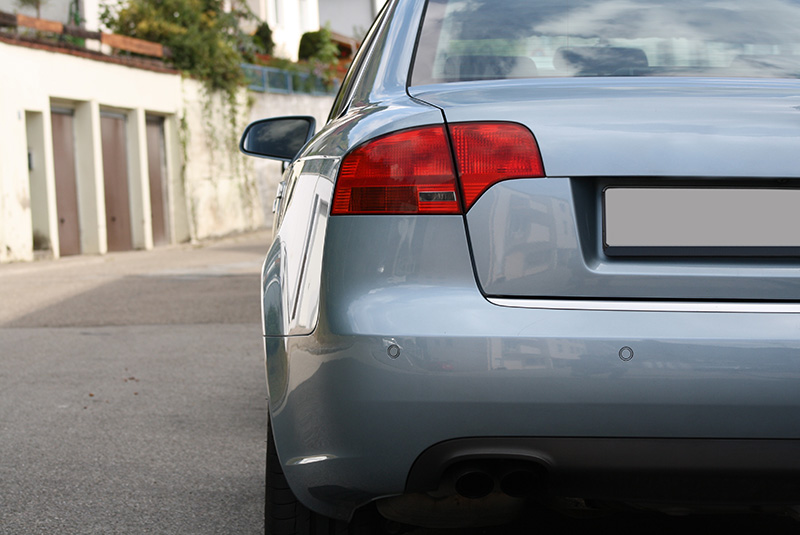
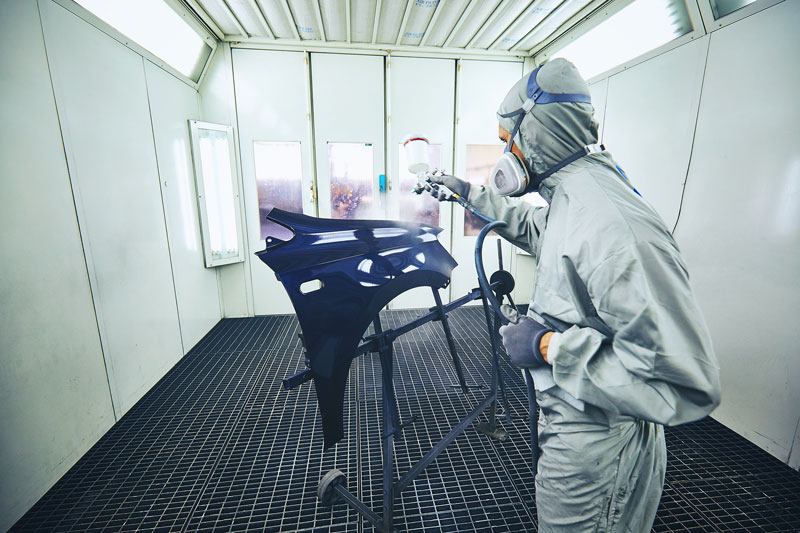
So, how exactly do you apply the paint and add those finishing touches to your chrome bumper? First, whether it's your front bumper or rear bumper, you'll need a good quality auto paint.
Apply several thin coats, allowing each one to dry as directed on the tin. Once the final coat has dried, it's time for the finishing touches.
Use clear coat for a glossy finish that brings the painted bumper to life. Again, apply several thin coats and let them dry thoroughly. Finally, polish the bumper for a sleek, shiny finish. Don't forget to check for any missed spots or drips during the process.
With patience and precision, you'll end up with a beautifully painted chrome bumper that enhances your vehicle's aesthetics.
Can Plastic Bumpers Be Painted?
Contrary to common belief, plastic bumpers can indeed be painted, opening up a world of customization possibilities for your vehicle. You're not stuck with the factory colors. With the right preparation and materials, you can give your vehicle's plastic bumpers the look you desire.
The key to painting plastic bumpers lies in the preparation. You must create a smooth surface for the paint to adhere to. This involves cleaning the bumper to remove any dirt, grime, or old paint. Next, you'll need to sand the bumper's surface lightly. This roughens it up slightly, helping the paint to stick better.
After prepping, you can apply a primer. A primer creates a base that helps the paint to adhere and last longer. Once the primer is dry, it's time to paint. Use thin coats of paint for the best results, letting each one dry before adding the next.
How Much Does It Cost to Paint a Bumper?
Ever wondered about the cost to paint a bumper? It can vary greatly depending on whether you decide to do it yourself or hire a professional. You see, there are a few factors that can influence the total cost.
Here is what you need to consider:
- Do-it-yourself: If you're willing to put in some effort, you could save a lot. You'll need to buy supplies like primer, paint, clear coat, and wax remover. Also, remember to invest in safety equipment. This could cost anywhere from $50 to $200.
- Professional Service: A professional paint job can range from $200 to $1500, depending on the quality and location of the service.
- Extent of Damage: If there are rust particles on your bumper, it will require more prep work and hence, increase the cost.
- Type of Paint: High-quality paint will last longer but it will also cost more.
Conclusion
That's all there is to it, folks! You're no longer a greenhorn in the world of bumper painting. With your new skills, you can transform that shiny chrome into a captivating canvas. Remember, it's your chariot, and you hold the reins.
So, go out there, breathe some life into that bumper, and make your trusty steed truly your own. Happy painting!
FAQs (Frequently Asked Questions)
What Type of Paint Is Best for Chrome Bumpers?
- Choosing paint for chrome bumpers is like picking the perfect outfit. It's all about compatibility. Acrylic enamel paint is your best bet. It's durable, weather-resistant, and bonds well with chrome when applied over a primer.
How Long Does It Take for the Paint to Completely Dry on a Chrome Bumper?
- It typically takes about 24 hours for paint to fully dry on a chrome bumper. However, it's best to check the paint can's instructions, as drying times can vary based on the brand and type of paint.
Can I Use a Paintbrush Instead of a Spray Gun to Paint My Chrome Bumper?
- Sure, you can use a paintbrush instead of a spray gun. However, it's trickier to get a smooth finish. Brushes might leave visible strokes. For the best results, you'll want to use fine, high-quality brushes.